
Okay, here is the long-form blog post about prepping a yard for sod, optimized for high readability and following all your requirements.
Why do you need to get your yard ready before you put down new grass (sod)? You need to prep your yard because good prep is the key to a healthy, beautiful lawn that lasts. It helps the new grass roots grow strong and spread out. Skipping this work means the sod might not take root well. It could die or look bad later. Getting the ground ready the right way makes sure your new lawn will grow thick and green. This guide shows you each step.
Getting ready for sod is a big job. But it is very important. Think of it like building a house. You need a strong base first. The base for your lawn is the soil. Taking time to prepare the soil and ground pays off. It means less work and fewer problems later. Let’s go through each step.
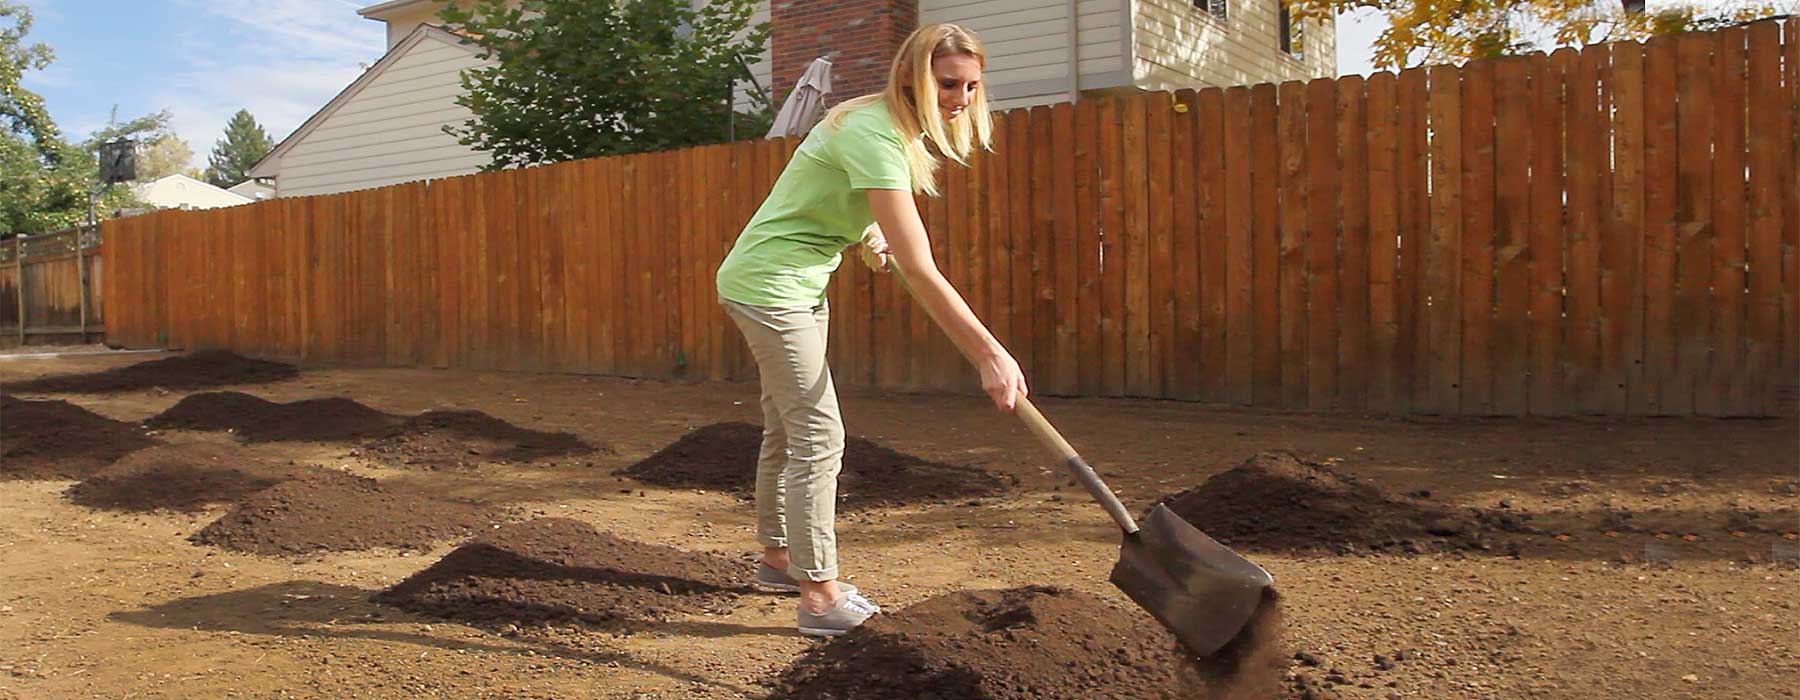
Image Source: gvt.net
Getting the Yard Ready: Clearing Things Out
The very first thing is to get rid of what is there now. You need a clean start. This means taking away old grass, weeds, rocks, and junk.
Getting Rid of Old Grass and Weeds
You must remove the old grass. This is remove existing lawn. If you leave old grass or weeds, they can cause problems. The old grass can grow back. Weeds can grow through the new sod. So, get it all out. This is also removing weeds before sod.
There are a few ways to do this:
- Digging or Stripping: You can use a shovel. Or you can rent a sod cutter. A sod cutter is a machine that cuts the grass and the top layer of soil in strips. It makes the work faster for big areas. You just push it like a mower. Then you roll up or shovel the cut strips. This takes work, but you know the old stuff is gone.
- Using a Garden Hoe or Mattock: For smaller spots, you can just dig with hand tools. Pull out the grass and roots. Get as much of the root system as you can.
- Spraying: You can use a spray that kills plants. This takes time. You spray it on the old grass and weeds. They will die over a week or two. Then you still need to remove the dead stuff. You can rake it up. Make sure the spray you use is safe for preparing for new grass. Read the label carefully. Wait the right amount of time after spraying before you work the soil. This makes sure the spray is gone or broken down.
No matter how you do it, the goal is clear dirt. You don’t want old grass clumps or weed roots left. Put the old grass and weeds in your compost pile or yard waste bin.
Clearing Rocks and Debris
While you are clearing the grass, pick up rocks, sticks, or other trash. New sod needs a smooth place to sit. Rocks or hard things under the sod make bumps. They can also stop roots from growing down well. Walk the area. Look for anything that should not be there. Pick it up.
Checking Your Dirt: What’s In It?
Once the ground is clear, it is time to look at the soil itself. The soil is where the sod’s roots will live. It needs to be healthy.
Why Test Your Soil?
You need to know what kind of dirt you have. This is soil testing before sod. Think of it like getting a check-up before starting hard work. The test tells you what your soil needs. It tells you if the dirt has the right food for the grass. It also tells you about the dirt’s make-up (like if it’s mostly sand or clay). This is a very important step in soil preparation for sod.
What to Test For
A good soil test checks a few key things:
- pH Level: This is how acidic or alkaline your soil is. It is a number from 0 to 14. 7 is neutral. Below 7 is acidic. Above 7 is alkaline. Grass likes a pH that is just right. It is usually a little bit acidic, maybe between 6 and 7. This is the soil pH for sod you want to aim for. If the pH is too high or too low, the grass can’t take up the food in the soil.
- Nutrients: The test checks for the main food the grass needs. These are things like nitrogen, phosphorus, and potassium. It tells you if your soil has enough or needs more.
How to Test Your Soil
Testing is simple. You can buy a test kit from a garden store. These kits are quick. But they might not be as exact.
The best way is to send a sample of your soil to a local testing lab. Your local farm center or university might have one. They give you a small bag or box. You take small amounts of dirt from a few spots in your yard. Mix them all together. Put the mix in the bag. Send it in. The lab will send you a report. The report tells you the pH and nutrient levels. It often tells you what to add to the soil to make it better for grass. This lab test gives you very good details for your soil preparation for sod.
Reading the Soil Test Report
The report might look tricky. But look for the main parts: pH and nutrients (N, P, K, etc.). The report usually tells you what the levels are and what they should be for a lawn. It will also suggest what to add to fix the soil. Keep this report handy. It tells you what to do next.
Making the Dirt Happy: Adding Good Stuff
Your soil test report tells you if you need to add things to your soil. This is amending soil for sod. Adding things makes the dirt better for grass roots. It helps the soil hold water and air better. It also adds food. This step is a big part of soil preparation for sod.
Why Add Things to Your Soil?
Most yards do not have perfect soil. Maybe it’s too hard (clay). Maybe it’s too loose and sandy. Maybe it does not have enough food. Adding the right things makes the soil good for your new sod. Good soil means roots can grow deep. Deep roots mean a strong, healthy lawn that needs less water later.
What to Add to Your Soil
The soil test helps you know exactly what to add. Here are common things you might add:
- Compost or other Organic Matter: This is often the best thing to add. Compost is decayed plants and other natural stuff. It makes clay soil less hard. It helps sandy soil hold water better. It adds food slowly. It improves the soil for a long time. Peat moss is another organic matter you can use. Add a few inches of compost all over the area.
- Lime or Sulfur: If your pH is wrong, you add lime to raise the pH (make it less acidic). You add sulfur to lower the pH (make it less alkaline). The soil test report will tell you how much to use based on your soil and how much area you have. It is important to add the right amount. Too much can harm the soil.
- Fertilizer: The soil test also tells you if you need to add main nutrients. You might add a general fertilizer now if the soil is really low. But you will add a special “starter” fertilizer later.
How to Add Amendments
Spread the things you need to add evenly over the clear ground. If you are adding a lot of compost, you can dump piles and rake them flat. If adding lime or sulfur, use a spreader to make sure it is even. Wear a mask and gloves when working with lime or fertilizer.
Mixing It In: Tilling the Soil
Once the amendments are spread out, you need to mix them into the soil. This is tilling soil before sod. Tilling breaks up hard dirt. It mixes the new stuff (like compost) with the old dirt. It makes the soil loose and ready for roots.
How to Till
You can use a shovel or garden fork for small areas. Just turn the soil over. Break up big clumps.
For most yards, a tiller is best. You can rent a tiller from a home store. A tiller has blades that dig into the ground and mix the soil. Walk slowly with the tiller. Let it do the work. Go over the area a few times in different directions. This helps mix everything well.
How Deep to Till
You want to till deep enough for the roots. Aim for about 4 to 6 inches deep. This gives the new roots plenty of loose soil to grow into. If your soil is very hard, you might need a powerful tiller.
After Tilling
After tilling, the ground will look loose and bumpy. This is okay for now. The main thing is the soil is broken up and the amendments are mixed in well. Tilling is a key part of soil preparation for sod. It creates the soft bed the sod needs.
Making the Ground Even and Nice
After tilling and mixing, the ground is loose. Now you need to make it smooth and level. This is grading and leveling yard. This step is very important for a good-looking lawn.
Why Make It Level?
A level yard looks better. But it’s more than looks.
- Water Flow: You do not want water to sit in puddles on your new lawn. This can harm the grass. You need the ground to slope away from your house and buildings. Even a small slope is good. This lets water run off.
- Smooth Surface: Sod laid on bumpy ground will have bumps. It will be hard to mow later. Level ground means a smooth surface for the sod.
How to Grade and Level
Use a rake to break up any big dirt clods left after tilling. Then, use a grading rake or a long, straight board (a “leveling board” or “screed”) to smooth the surface.
- Filling Low Spots: Find areas that are lower than others. Shovel loose soil from higher spots or a pile of extra soil into the low spots.
- Taking Down High Spots: Shovel dirt from high areas to fill lows. Or just rake it away.
- Raking Smooth: Use a rake to spread the soil evenly. Go back and forth across the area. Drag the rake or board over the surface like you are buttering toast. This pushes soil from high points into low points.
- Checking the Slope: Look at the ground. Does it slope away from your house? You can use a long board with a level on it to check the slope. Or just look after a rain. See where water collects. Fix those spots.
- Compacting Slightly: Once it looks level, walk on the soil gently or use a roller (not too heavy) to lightly firm the surface. This finds any soft spots that are actually low points. Fill those spots and level again. You don’t want the soil hard, just firm enough so it won’t sink when you lay the sod.
Take your time with grading and leveling yard. It makes a big difference in the final look and health of your lawn. The goal is a smooth, gently sloping surface that is about 1 inch below sidewalks, driveways, or patios. This way, the sod will be level with these surfaces when it is laid.
Getting the Dirt Ready for Sod’s Arrival
The ground is clear, the soil is healthy, and the surface is level. You are almost ready for the sod. There are just a couple more things to do right before the sod arrives.
Adding Food for New Roots
New sod needs food to start growing roots fast. This is applying starter fertilizer. This special fertilizer has nutrients that help roots grow. It is different from fertilizers you use on old lawns. It usually has more phosphorus.
- Which Fertilizer? Look for a fertilizer labeled “starter fertilizer” or “new lawn fertilizer”. The numbers on the bag (like 18-24-12) show the amount of nitrogen, phosphorus, and potassium. A starter fertilizer will have a higher middle number (phosphorus).
- How to Apply? Use a fertilizer spreader to apply it evenly over the leveled soil. This makes sure all areas get the same amount. Follow the directions on the fertilizer bag for how much to use for your yard size. Applying it evenly is important. Too much in one spot can burn the new roots.
- Mix It In (Optional but good): After spreading, you can lightly rake the fertilizer into the top half inch of soil. This gets the food closer to where the new roots will be right away.
Applying starter fertilizer gives your new sod the best chance to root quickly and grow strong.
Giving the Dirt a Drink
New sod must not dry out. The dirt under the sod needs to be wet when the sod is laid. This is watering soil before sod.
- Why Water Now? Watering the soil before the sod goes down does two things. First, it makes sure there is water for the roots right away. Second, it cools the soil surface. This helps the new roots. Sod laid on dry, hot dirt will stress the grass.
- How Much to Water? Water the entire leveled area well. The goal is to get the top few inches of soil wet. You want the dirt damp, not muddy or puddling. Use a sprinkler or hose. Water slowly so the water sinks in. Do this maybe a day or two before the sod comes. If it dries out on the surface right before the sod comes, water it again lightly just before laying the sod.
Watering soil before sod is a final step to make sure the sod lands on a friendly, moist bed.
Sod is Here!
Your yard is prepped and ready. The sod company will deliver the sod. It is important to lay the sod as soon as possible after it arrives. Sod is living grass. It can dry out and die quickly when it is rolled up on a pallet.
Laying the Sod
Start laying the sod along a straight edge, like a driveway or sidewalk. Push the pieces together tightly. Do not overlap them. Cut pieces with a knife to fit edges and curves. Water the sod soon after it is laid. Then follow the watering plan the sod grower gives you. Watering the new sod a lot is key in the first few weeks.
Putting It All Together: A Prep Checklist
Here is a simple list of the steps to prep your yard for sod:
- Clear the old grass and weeds (Remove existing lawn, Removing weeds before sod).
- Remove rocks and trash.
- Test your soil (Soil testing before sod).
- Read the test report to know what your soil needs (Soil pH for sod).
- Add good stuff to the soil like compost, lime, or sulfur (Amending soil for sod, Soil preparation for sod).
- Mix in the added stuff by breaking up the soil (Tilling soil before sod).
- Make the ground flat and smooth, sloping away from buildings (Grading and leveling yard).
- Add special food for the roots (Applying starter fertilizer).
- Water the dirt so it is damp before the sod comes (Watering soil before sod).
Each step builds on the one before it. Doing them in order helps make sure your new lawn will grow strong and healthy.
What Happens If You Skip Steps?
Skipping steps in getting your yard ready can cause problems:
- Skipping Clearing: Old grass and weeds grow through the new sod. The lawn looks bad fast.
- Skipping Soil Testing: You don’t know what your soil needs. You might add the wrong things or not enough. Roots won’t grow well.
- Skipping Amending: Soil might be too hard, too sandy, or not have enough food. Roots stay weak. The lawn needs more water and care.
- Skipping Tilling: Soil stays hard. Roots can’t grow deep. Water might not sink in.
- Skipping Leveling: You get puddles after rain. The yard looks bumpy. Mowing is hard.
- Skipping Starter Fertilizer: Roots take longer to start growing into the new soil. The sod might not take root as well.
- Skipping Pre-Watering: The sod sits on dry dirt. It can dry out fast before its own watering starts. It puts the grass under stress right away.
Doing all the steps might seem like a lot of work. But it saves you from many problems later. A well-prepped yard helps the sod take root quickly. It means a beautiful, strong lawn that is easier to care for.
Tools You Might Need
Having the right tools makes the job easier.
| Tool | What It Helps With |
|---|---|
| Shovel | Digging, moving dirt |
| Garden Hoe/Mattock | Clearing old grass/weeds, breaking dirt clumps |
| Sod Cutter (rent) | Removing large areas of old grass quickly |
| Rake (garden rake) | Smoothing dirt, removing small debris |
| Grading Rake | Moving larger amounts of dirt for leveling |
| Wheelbarrow | Moving dirt, compost, or rocks |
| Spreader | Spreading fertilizer or lime evenly |
| Tiller (rent) | Breaking up soil, mixing in amendments |
| Long Straight Board | Checking level and slope, smoothing surface |
| Hose or Sprinklers | Watering the soil |
| Soil Test Kit/Mail | Testing the soil |
| Gloves, Mask | Protection when handling soil or products |
| Utility Knife | Cutting sod pieces during laying (later) |
Having these tools ready before you start makes the work go faster and smoother. You can rent big tools like sod cutters and tillers from a local store.
How Long Does Prep Take?
The time it takes depends on your yard size and its condition.
- Small Yard (under 1000 sq ft): Maybe 1-2 days of solid work.
- Medium Yard (1000-5000 sq ft): Could take 2-4 days of solid work.
- Large Yard (over 5000 sq ft): Likely 4 or more days, maybe spread over a week.
This does not include waiting time for things like:
- Waiting for a spray to kill old grass (1-2 weeks).
- Waiting for soil test results (1-2 weeks).
- Waiting for lime or sulfur to work if added (weeks to months, often best done in advance if possible, but can be mixed in if needed closer to sod day).
So, plan ahead. Start the prep at least 2 weeks before you plan to lay the sod. This gives you time for testing and waiting if needed.
FAQs About Prepping for Sod
Here are answers to some common questions:
Q: Can I just put sod over my old grass?
A: No, please do not do this! You must remove existing lawn. If you lay sod over old grass, the roots will not be able to reach the soil easily. The old grass will also try to grow through the new sod. This will lead to a weak, unhealthy lawn that is hard to keep looking nice.
Q: How deep should I till the soil?
A: Aim to till soil before sod about 4 to 6 inches deep. This makes the soil loose enough for roots to grow down well.
Q: How important is soil testing?
A: Soil testing before sod is very important. It tells you exactly what your soil needs. Without it, you are guessing. Adding the wrong things or the wrong amounts can waste time and money. It can also hurt the new sod.
Q: What should the soil pH be for sod?
A: The best soil pH for sod is usually between 6.0 and 7.0. This range lets the grass roots take up food from the soil most easily. Your soil test will tell you your pH.
Q: Do I really need to level the yard?
A: Yes, grading and leveling yard is very important. It makes sure water drains away from your house. It stops puddles from forming. It also makes the finished lawn smooth and easy to mow.
Q: When should I apply the starter fertilizer?
A: Apply the applying starter fertilizer right before you lay the sod. After you have finished leveling the soil. This makes sure the food is there for the roots as soon as they start to grow.
Q: How wet should the soil be before the sod comes?
A: The soil should be damp, but not muddy. Water it enough so the top few inches are wet. This is watering soil before sod. It gives the sod a moist bed to start on.
Q: Can I use regular garden soil instead of amending my yard soil?
A: You can add a layer of good quality topsoil, but you should still prepare the soil underneath. Mix the new topsoil into your existing soil by tilling. This is part of amending soil for sod and makes sure there isn’t a hard layer between the new dirt and the old dirt. Roots need to grow through everything.
Conclusion
Getting your yard ready for sod is hard work. But it is the most important part of getting a new lawn. Soil preparation for sod that includes clearing, testing, amending, tilling, leveling, fertilizing, and watering sets up your sod for success. You remove existing lawn and removing weeds before sod for a clean start. You do soil testing before sod to know your soil’s needs and its soil pH for sod. You amending soil for sod and tilling soil before sod to make it healthy and loose. You do grading and leveling yard for good water flow and a smooth surface. You finish by applying starter fertilizer and watering soil before sod. Follow these steps carefully. You will be rewarded with a beautiful, strong, green lawn that you can enjoy for years.